Tape Method Installation Instructions
Download Installation Instructions (PDF)
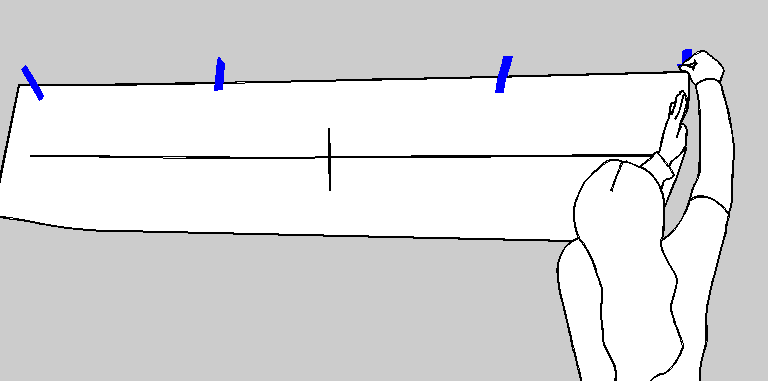
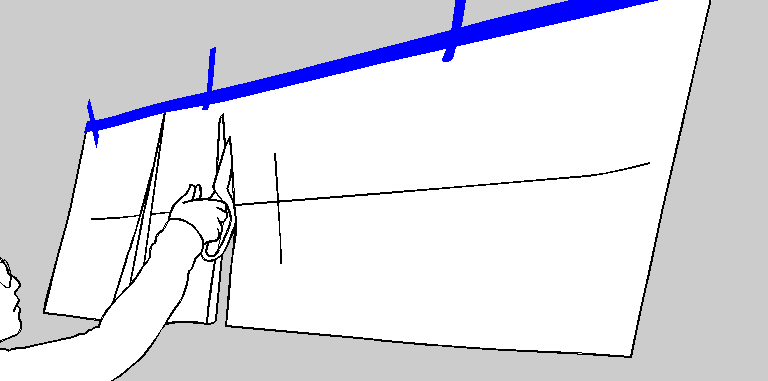
Step 1 Apply Adhesive Pattern
Tape the top of the pattern to the wall and level using the horizontal line on the front of the pattern.
Do not level with the bottoms of the letters or edge of paper, use provided level lines only.
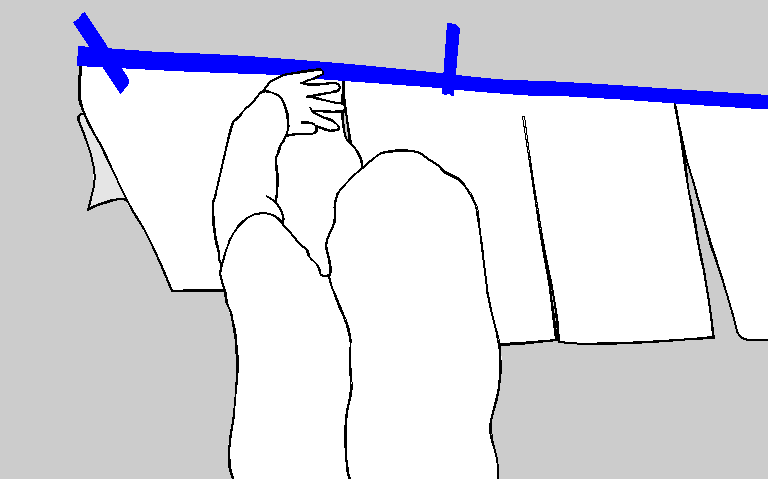
Step 2 Cut Pattern
Cut the pattern every foot or so between the letters to have smaller pieces to lay down.
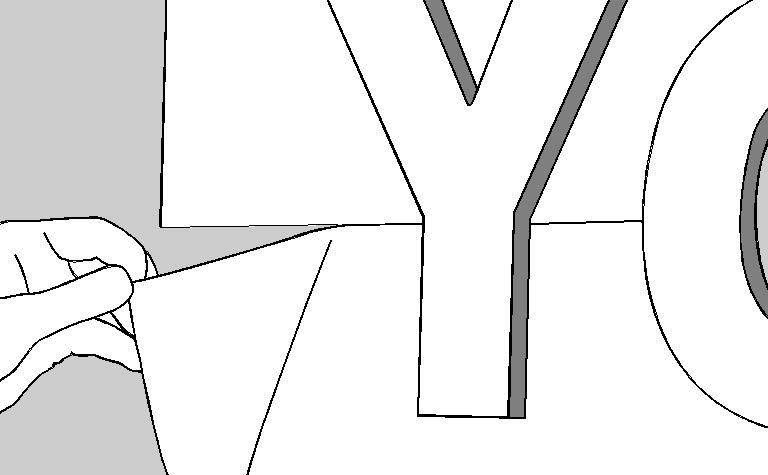
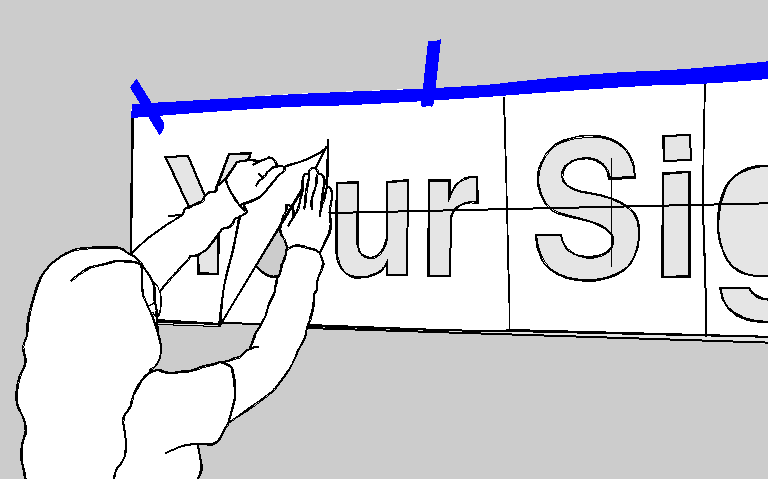
Step 3 Peel Pattern
Lift the first cut of the pattern from the bottom and slowly peel down starting at the top where the tape is, as you peel, gently and firmly press the pattern to the wall.
Repeat this process with each section until the entire pattern is firmly pressed to the mounting surface. Bubbles are not a problem
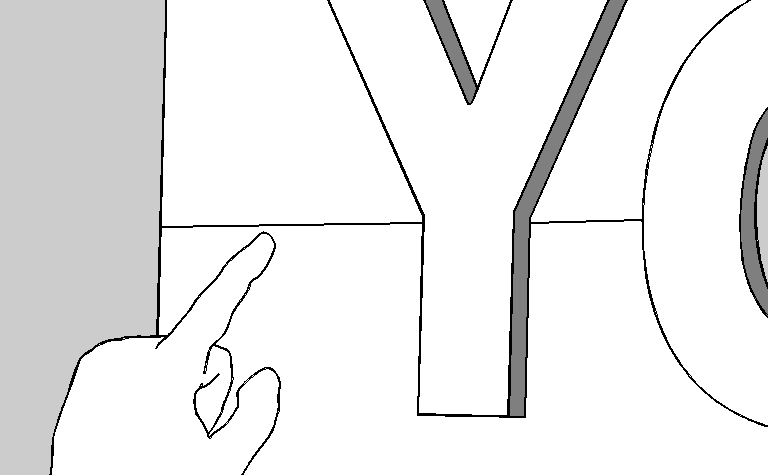
Step 4 Press To Wall
Once the pattern is on the wall, lift from the bottom corner of each cut line, and peel the top film layer of the pattern, leaving the bottom layer stuck to the wall.
Step 5 Peel Film
Peel the film off of the tape on the back of each letter. One at a time
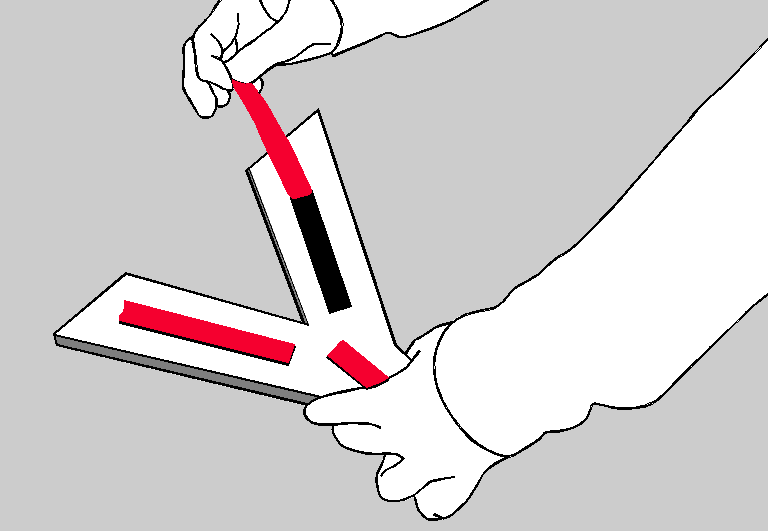
Step 6 Apply Letter
Gently place the letter in the correct slot on the wall. Press firmly to ensure the tape is stuck. Tape is permanent, once it is stuck it is not possible to adjust.

Step 7 Remove Pattern
In the middle of the pattern, there will be a cut line running horizontally, this makes peeling the pattern from the wall easier. Start by peeling the bottom part of the pattern, and working your way to the end.