Raceway Sign Installation Instructions
Download Installation Instructions (PDF)
Required Tools Accompanying Logos Referenced within Instructions
- Level
- Safety Glasses
- Drill
- Fasteners
- Tape Measure
- Helper
Step 1 Initial Examination
Inspect the crate for any damages.
Unpack the power connection.
Step 2 Wall Preparation
Measure from the end of the raceway to the power hole.
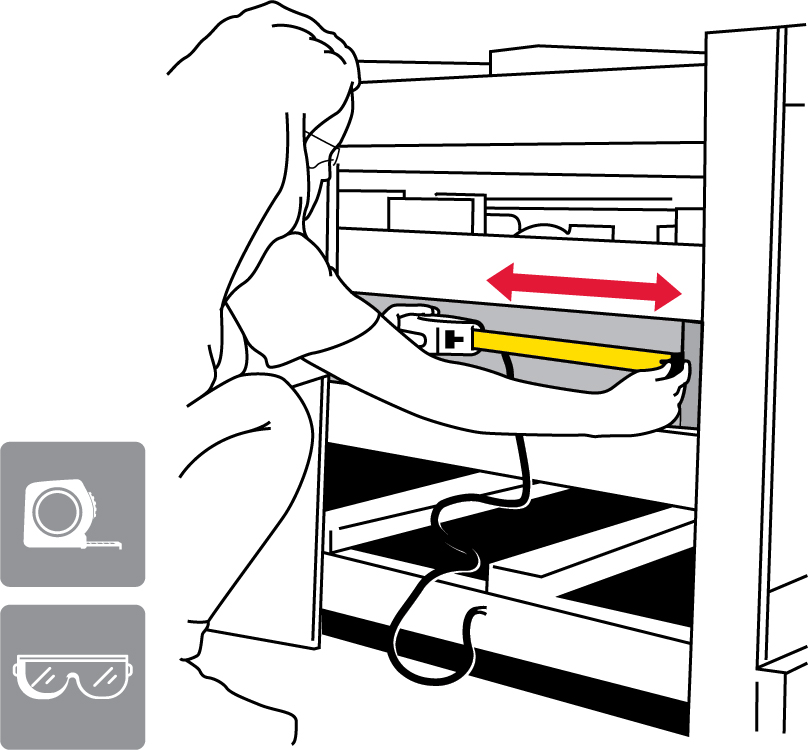
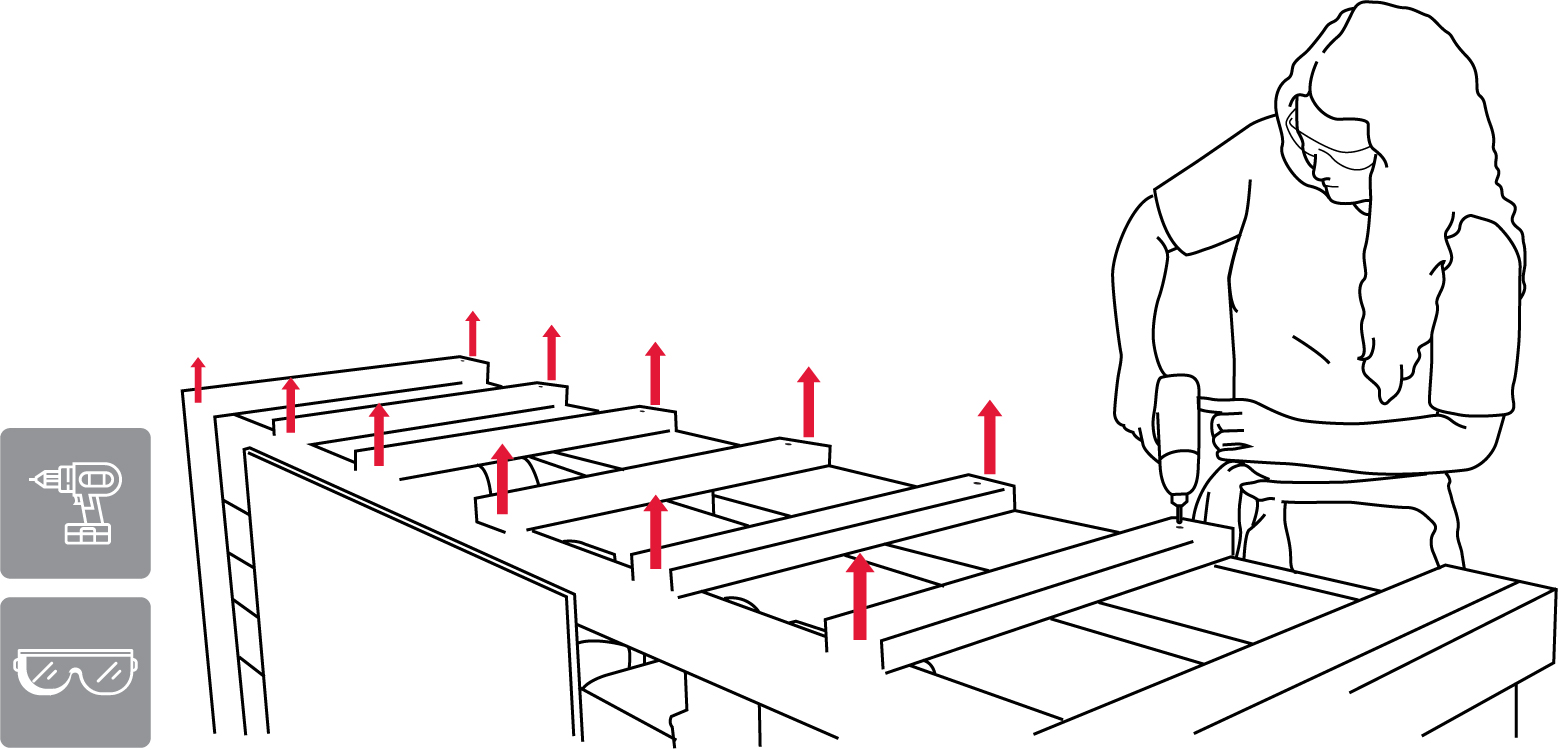
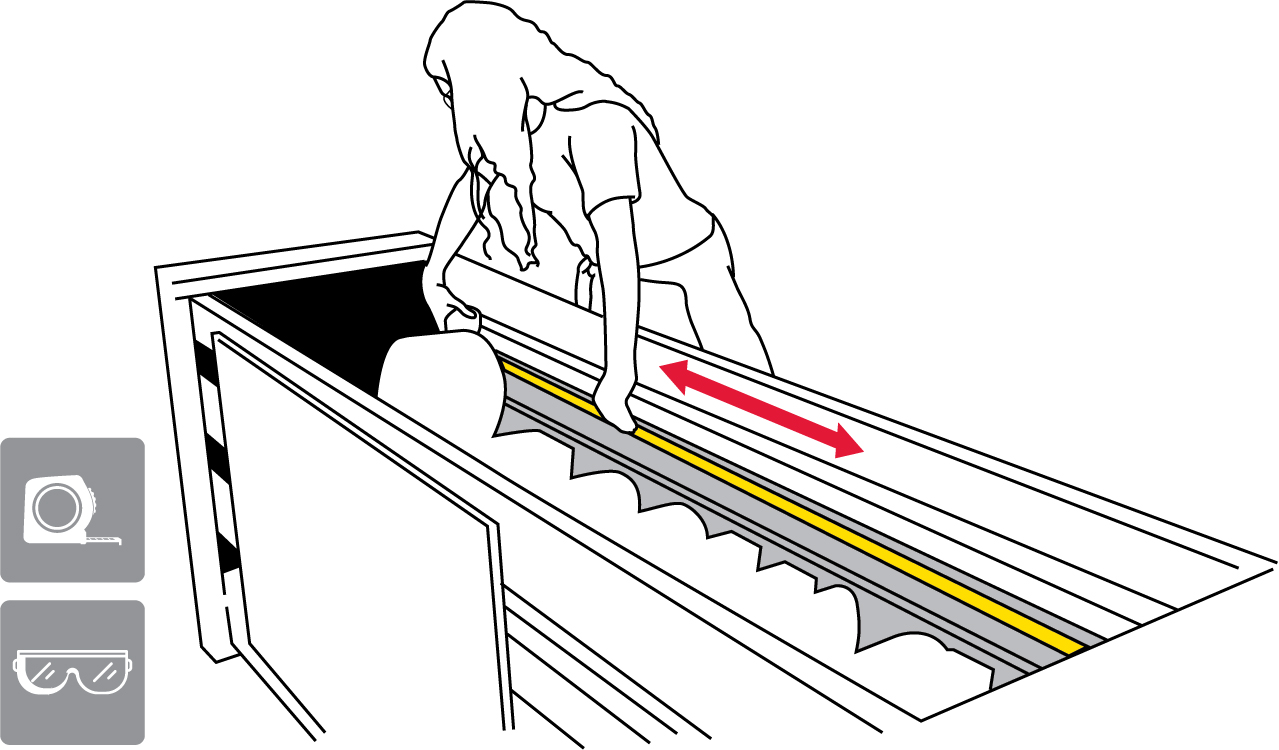
Remove the boards from the top of the crate.
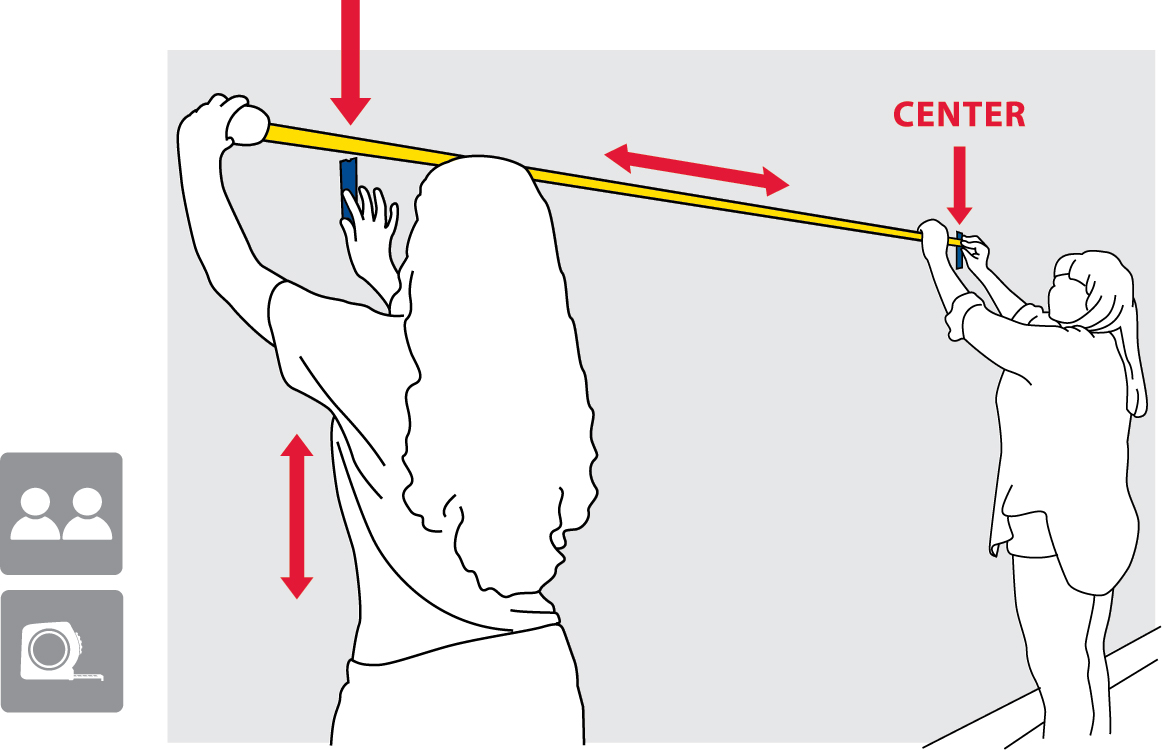
Measure the overall length of the raceway to determine its physical center.
Place a piece of easily removable tape onto the wall at the center location of the raceway. From this point measure over until the edge of the raceway, where another piece of tape should be placed.
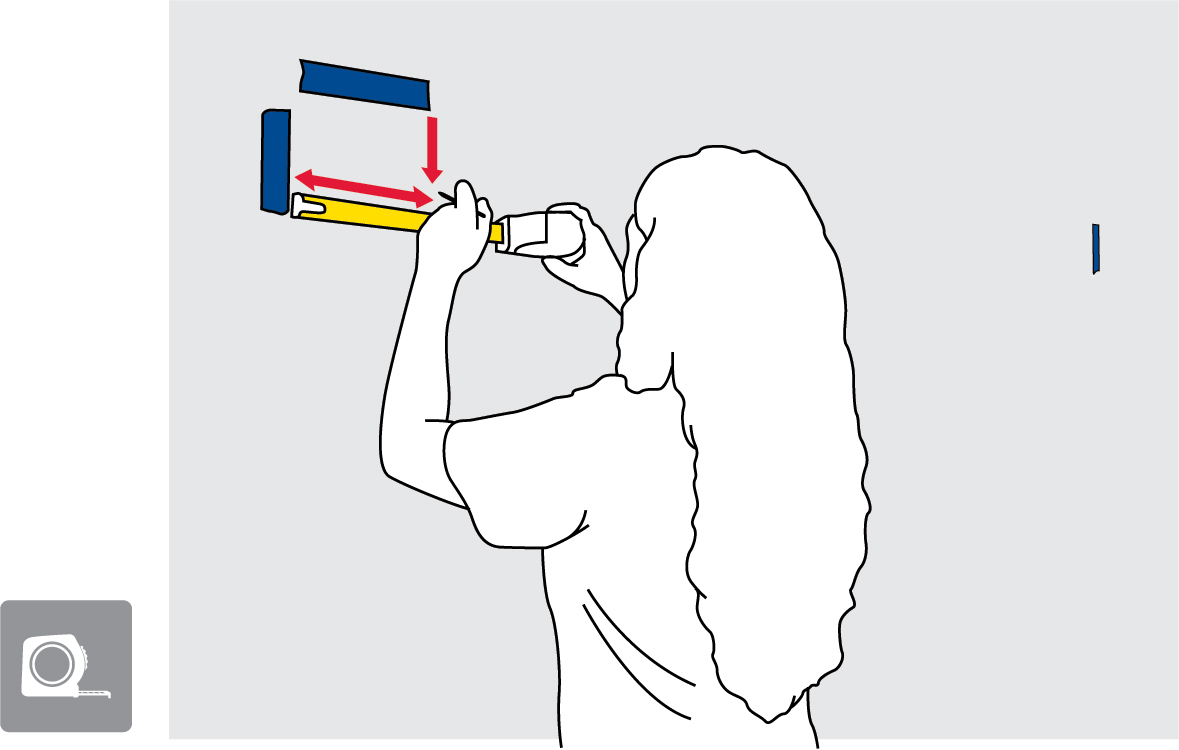
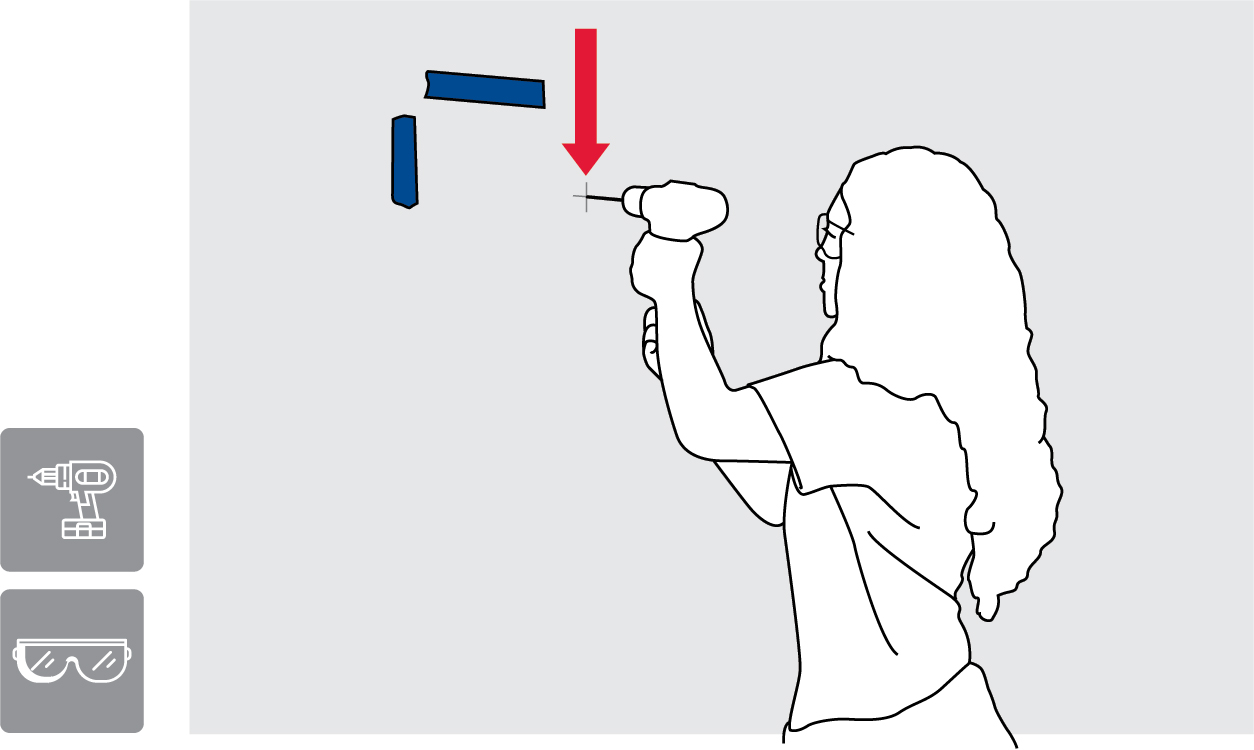
Using the measurement taken from the end of the raceway to the power hole, and the previously established edge, locate and mark the location of the power hole.
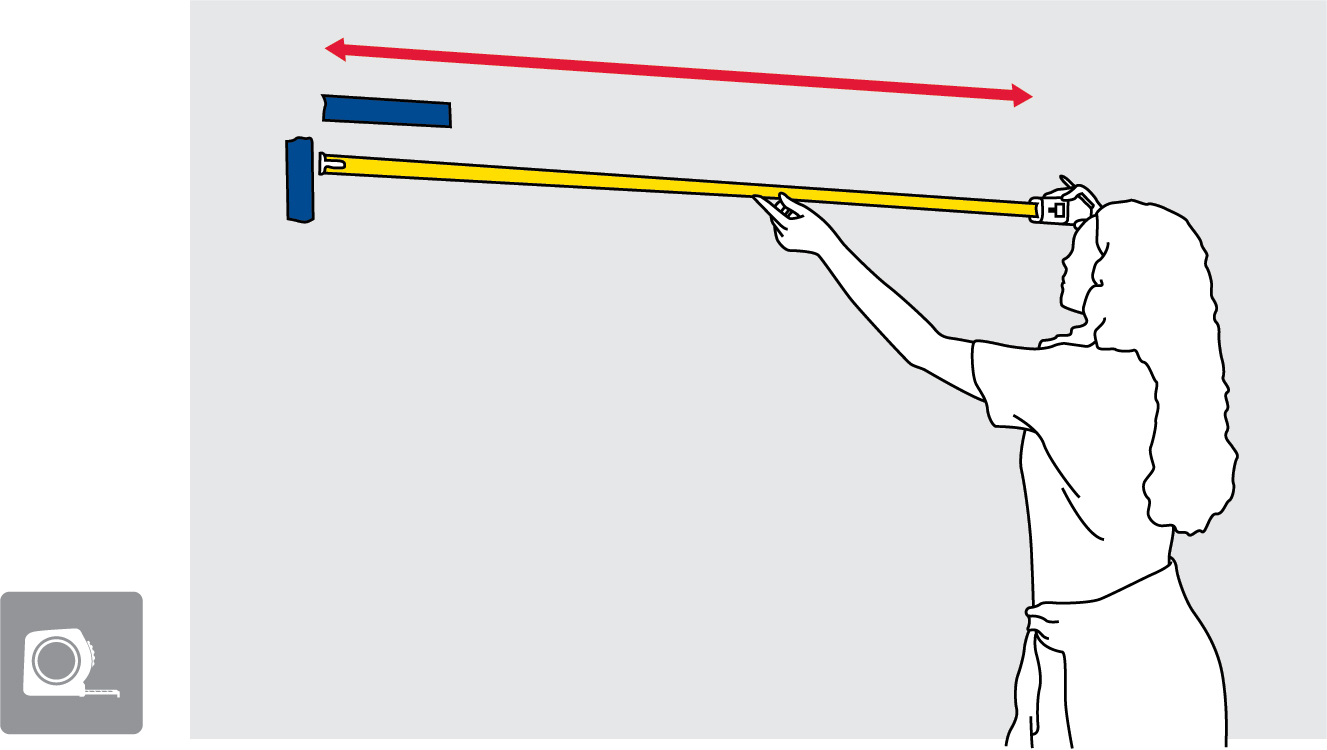
Determine the location of the first mounting hole according to the length and size of your raceway.
Pre-drill the power hole and the established first mountng hole.
Step 3 Unpacking and Installation of Raceway(s)
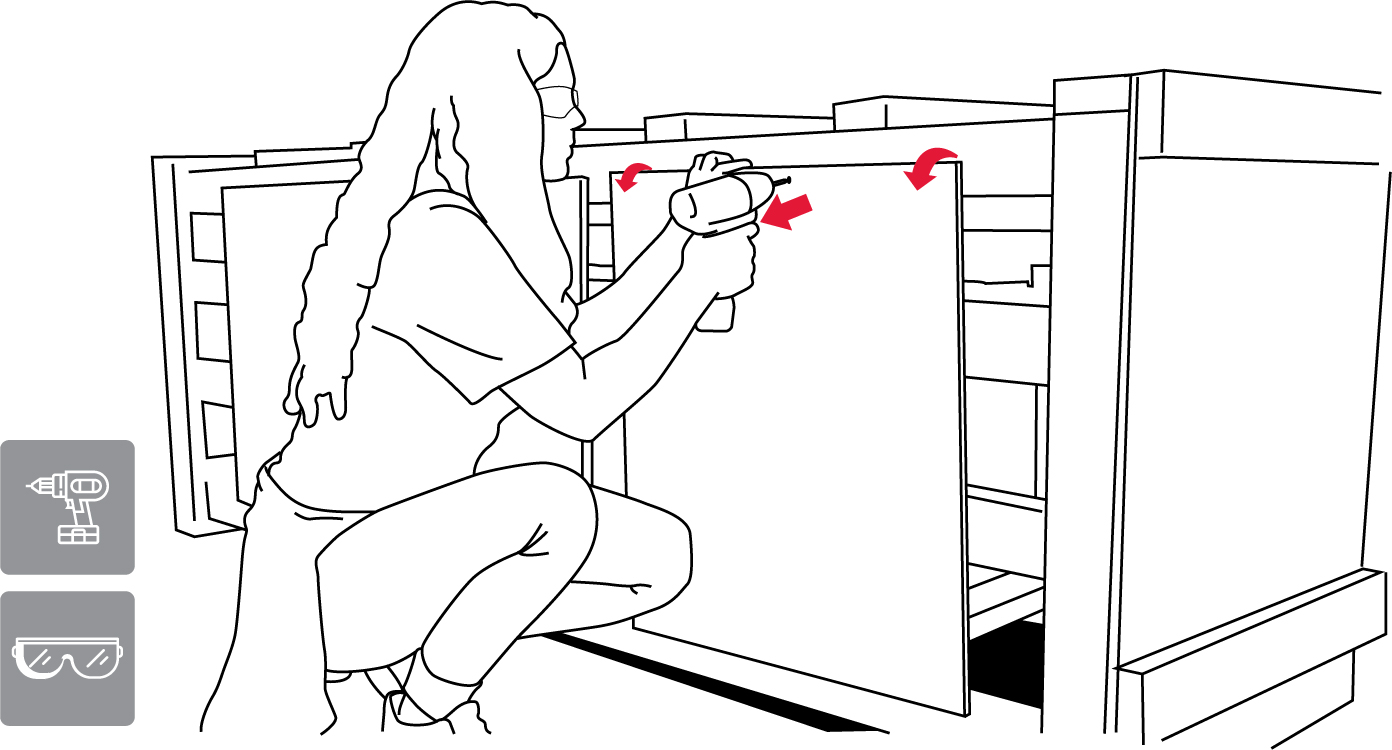
Unscrew the raceway’s mountng lip from the crate.

Remove the raceway from the crate, ensuring that the sign is lifted by the raceway itself.

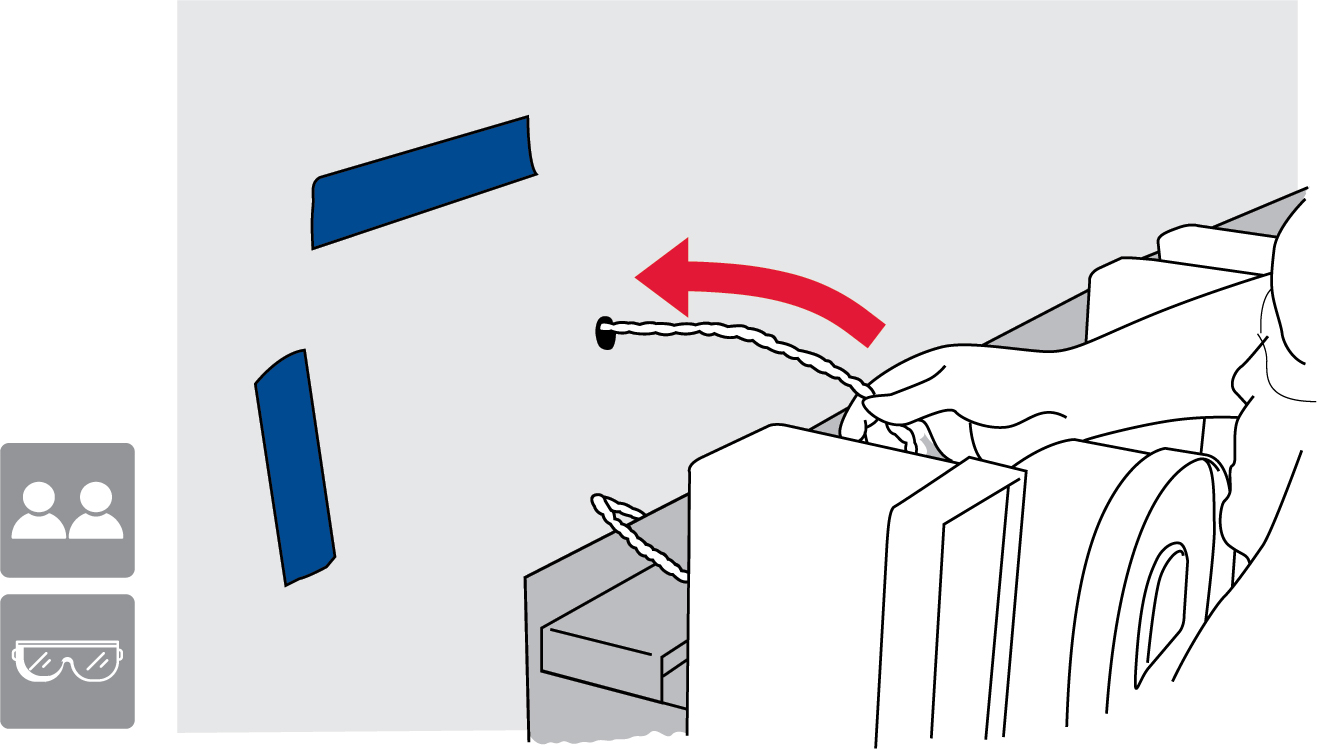
Slide the power wires through the pre-drilled power hole in the wall.
Begin mounting the raceway to the wall through the pre-drilled mounting hole.
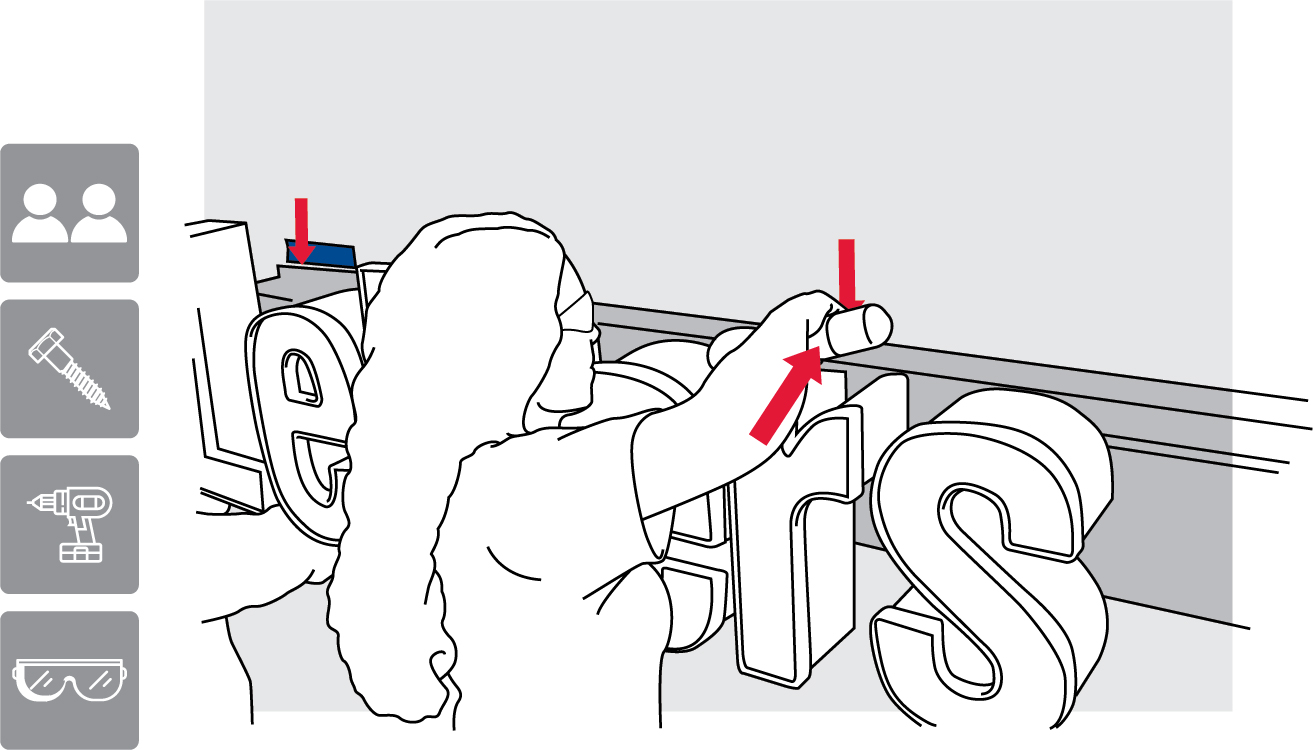
With your helper holding the other end, make connections between any adjoining raceways and slide the ends together.

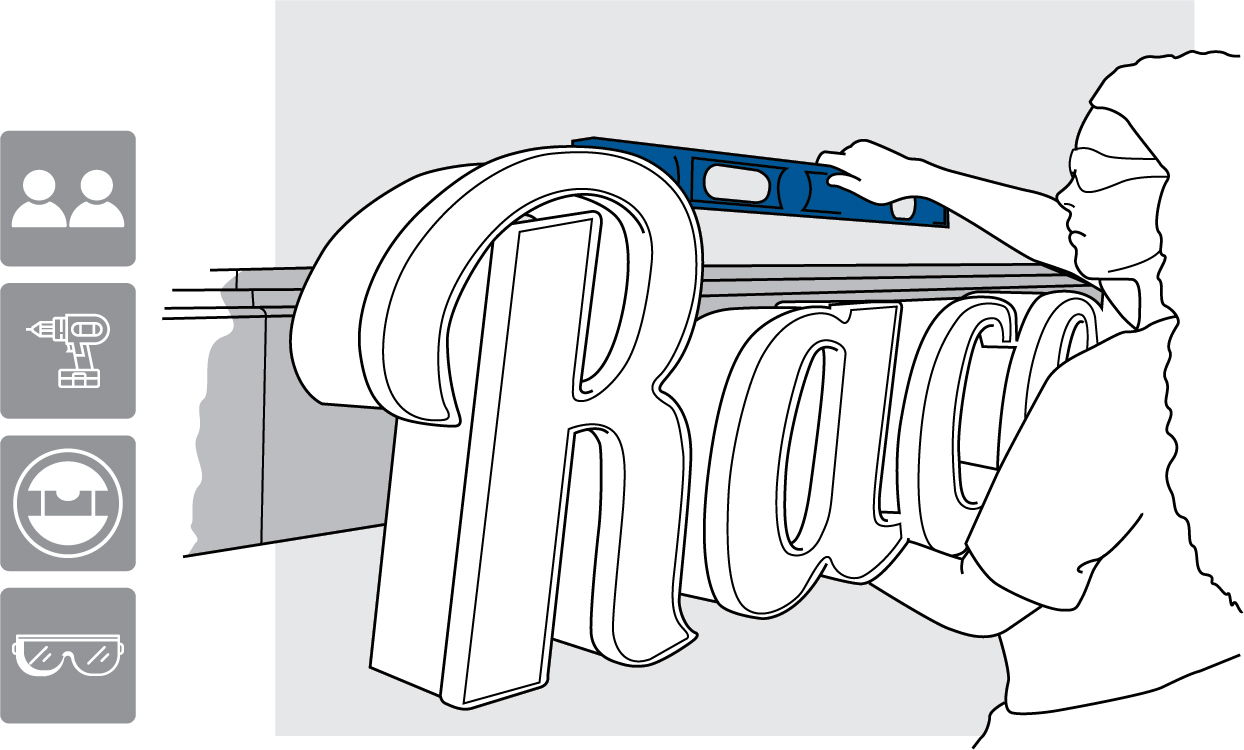
Mount each additional raceway to the wall after leveling to the raceway directly before it. Continue installing all the mounting screws through the top and bottom flange.
Make the final connection to your power source
Turn your sign on. (You’re Done!)