Self Contained Sign Installation Instructions

Download Installation Instructions (PDF)
Included with sign:
Paper installation Pattern, ½” seal tight conduit and ½” nipple to attach to your electric box.
Step 1
Unroll pattern and tape to wall where letters are to be installed.
Check to make sure the sign is level and centered in the area.
There must be access to the back of the wall to connect 110-volt AC Power.
Use a tape that will not damage the wall surface when it is removed.
For unpainted brick you can use duct tape but remove as soon as done.
Do not level with the bottoms of the sign or edge of paper, use provided level lines only.
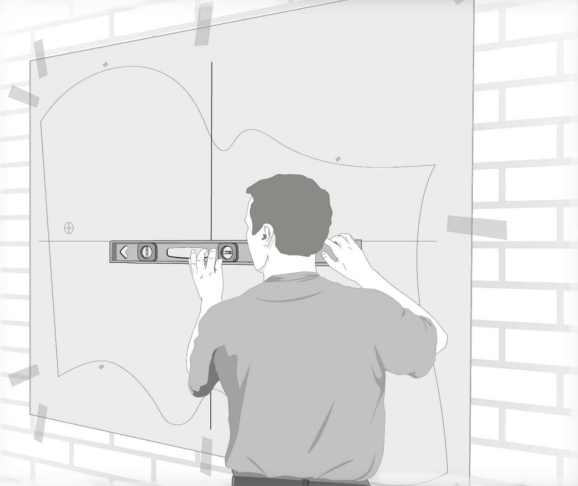
Step 2 Drill Holes
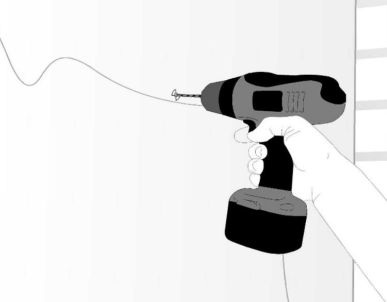
  are on the outside of Letters and Logos.
 are on the outside of Letters and Logos.Drill pilot holes through the center of the mark for appropriate fastener.
For wood surfaces we suggest galvanized wood screws. They can be painted to match wall. Concrete, Brick or cinderblock surfaces we suggest Tapcon® Screws. Your hardware store may suggest another type that will work for your application.
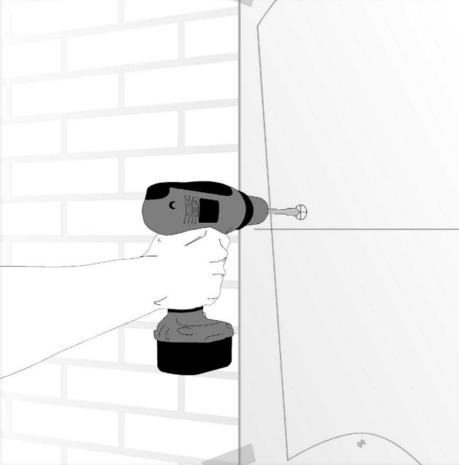
  are in the middle of the Letters & Logos.
 are in the middle of the Letters & Logos.Drill a 3/4” hole completely through the wall to the inside of the building.
Step 3 Installing Sign
Remove the pattern from the wall.
It is best to remove tape as soon as possible.
Push AC wires into flexible conduit include with sign. Attach the conduit to the nipple on the back of the sign. While putting sign on the wall,shove the conduit with AC power wire through the wall so it can be reached from inside the building.
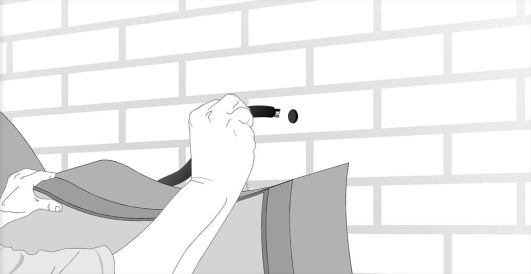
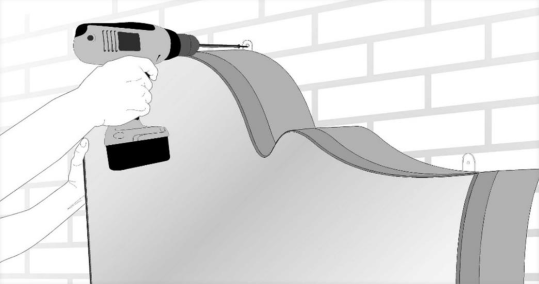
Install on the wall using screws appropriate for the wall.
Screw is to be put through hole in the mounting tab and into pilot hole from pattern.
Inside the building, connect AC wires to your 110-volt electrical box as you would any light fixture.