Stud Mount Installation Instructions

A PDF version of this document is available for downloading and printing.
Download Installation Instructions (PDF)
Download Installation Instructions (PDF)
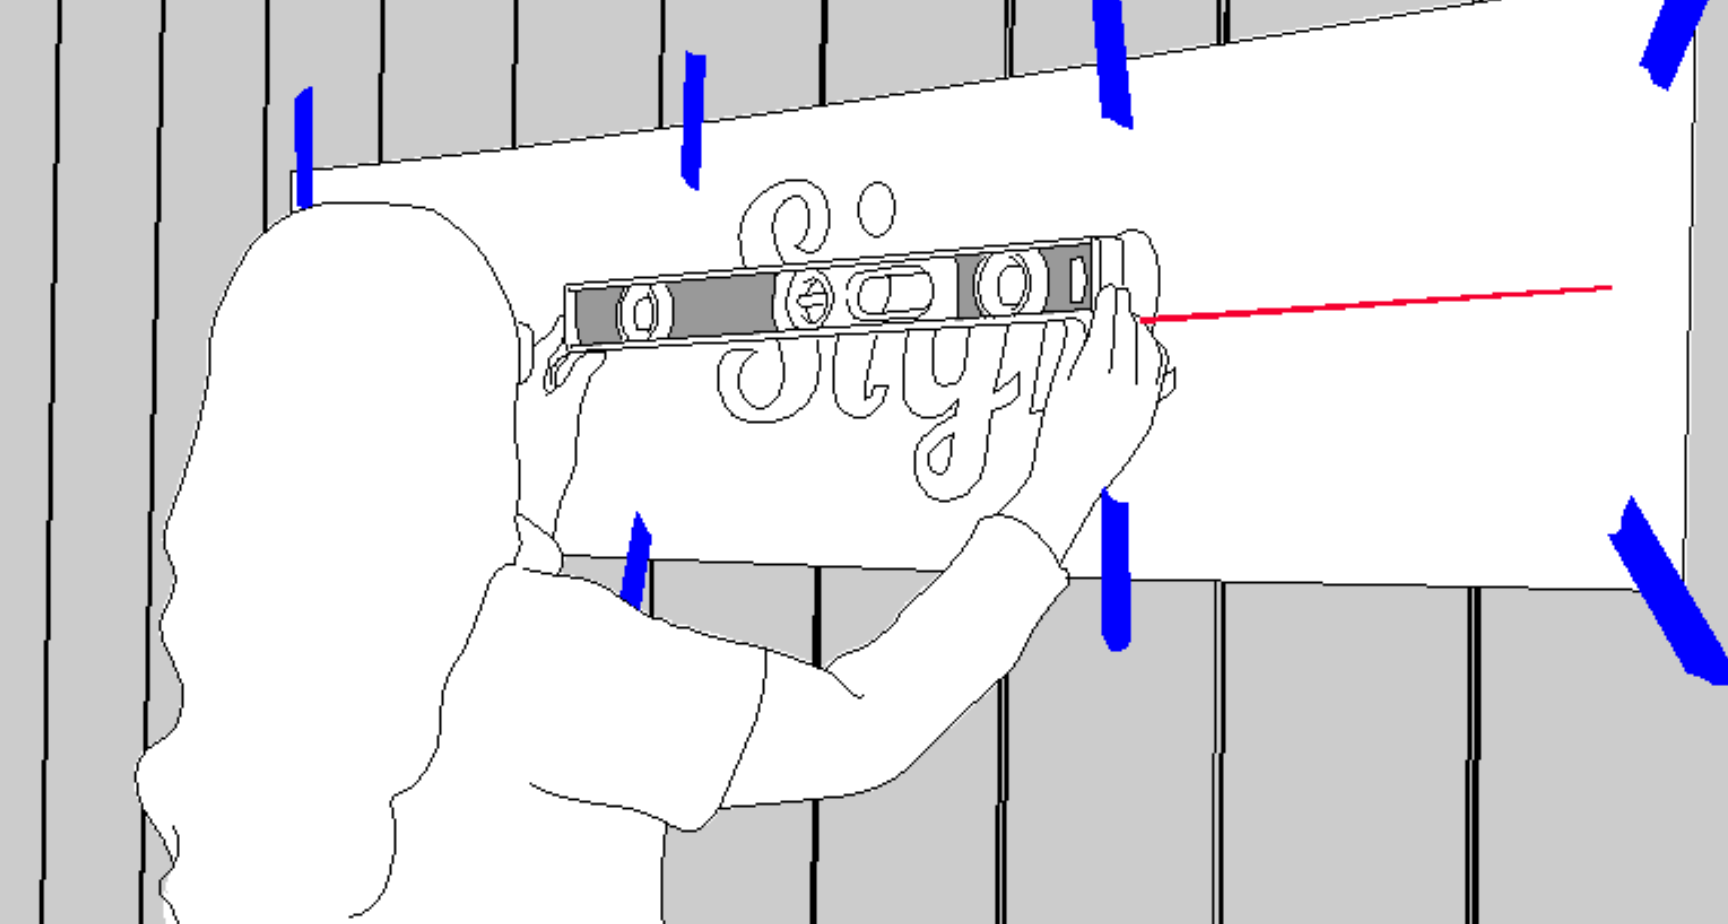
Step 1 Level & Center Pattern
Unroll the pattern and tape to the wall surface where you will be installing your sign.
Center the pattern, then level. Do not level from the top or bottom of the paper, only level from the horizontal line printed on the front.
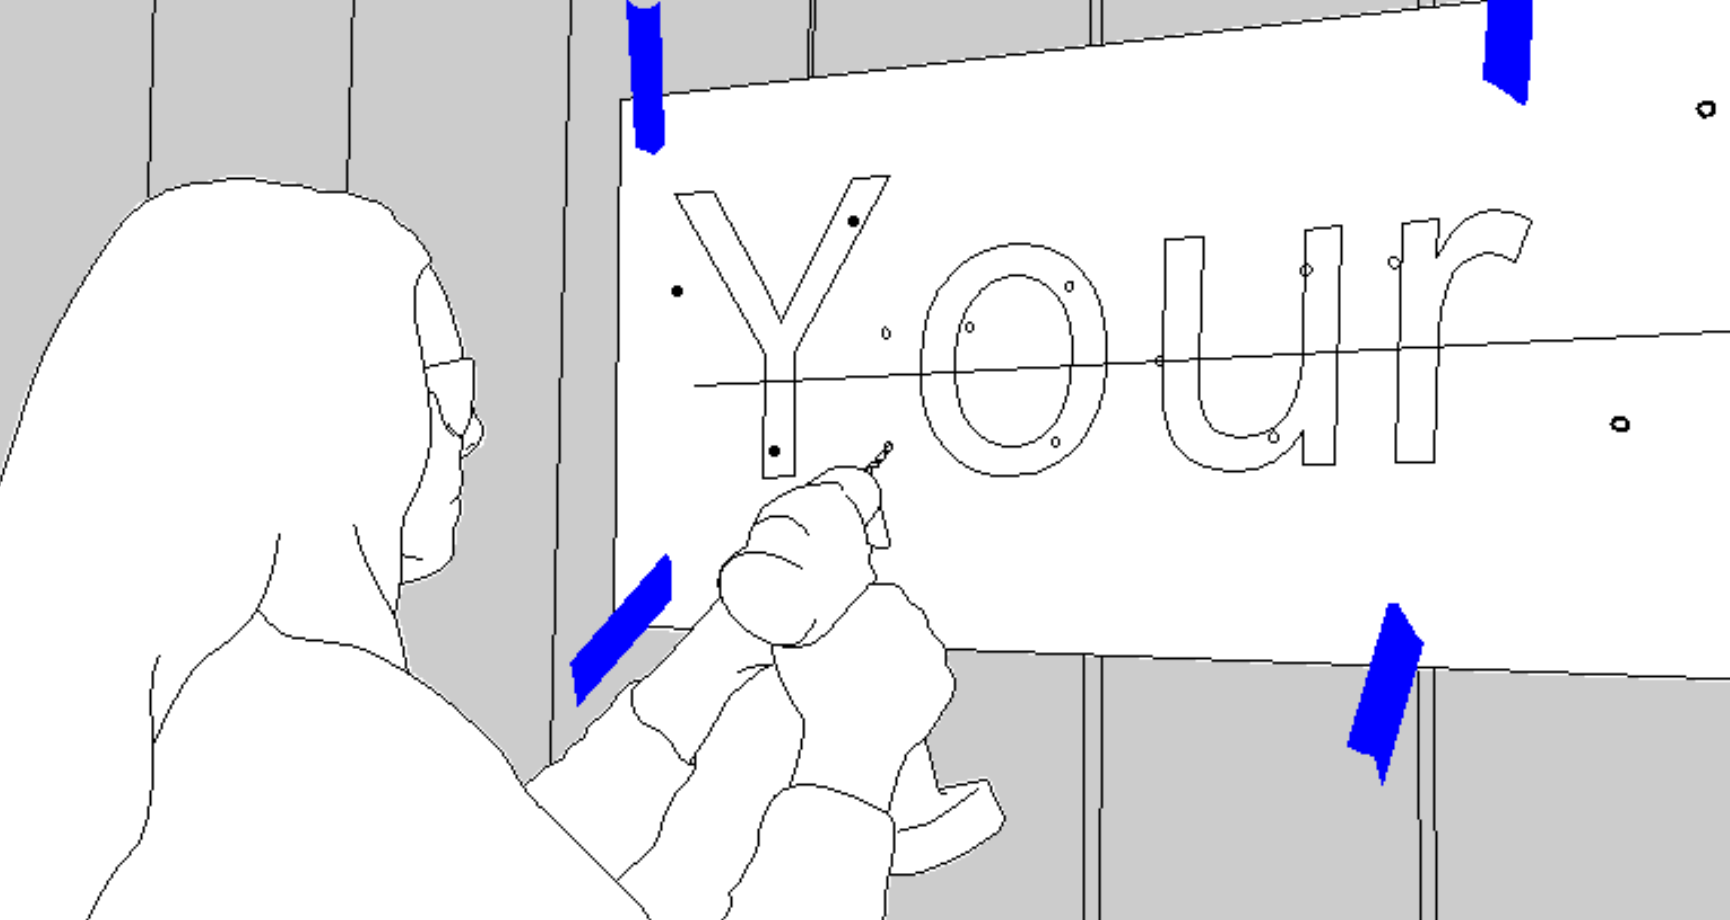
Step 2 Drill Holes
Drill the mountng holes. The template will show you where to drill each hole for each letter.
Remove the pattern from the wall. If necessary, blow the holes out with a straw to remove dust.
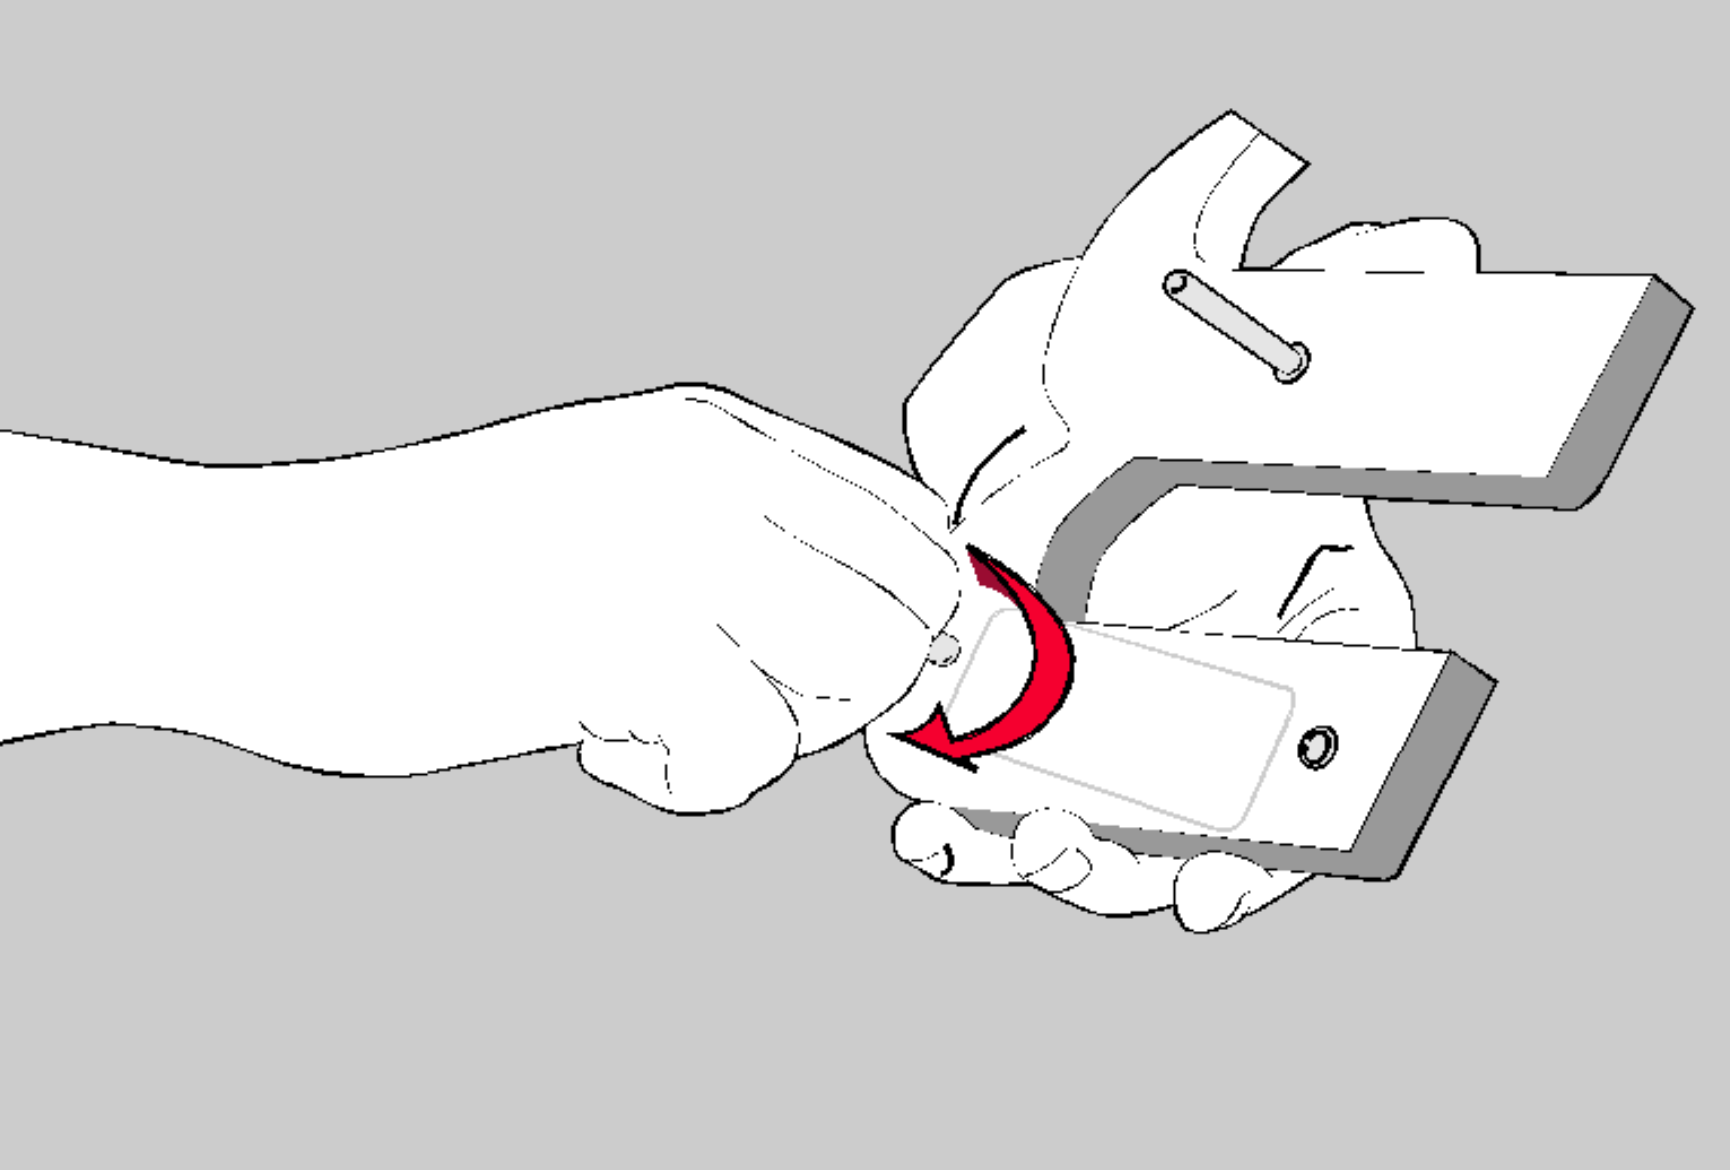
Step 3 Attach Studs
Attach the threaded studs (provided with your sign) to the back of the letters.
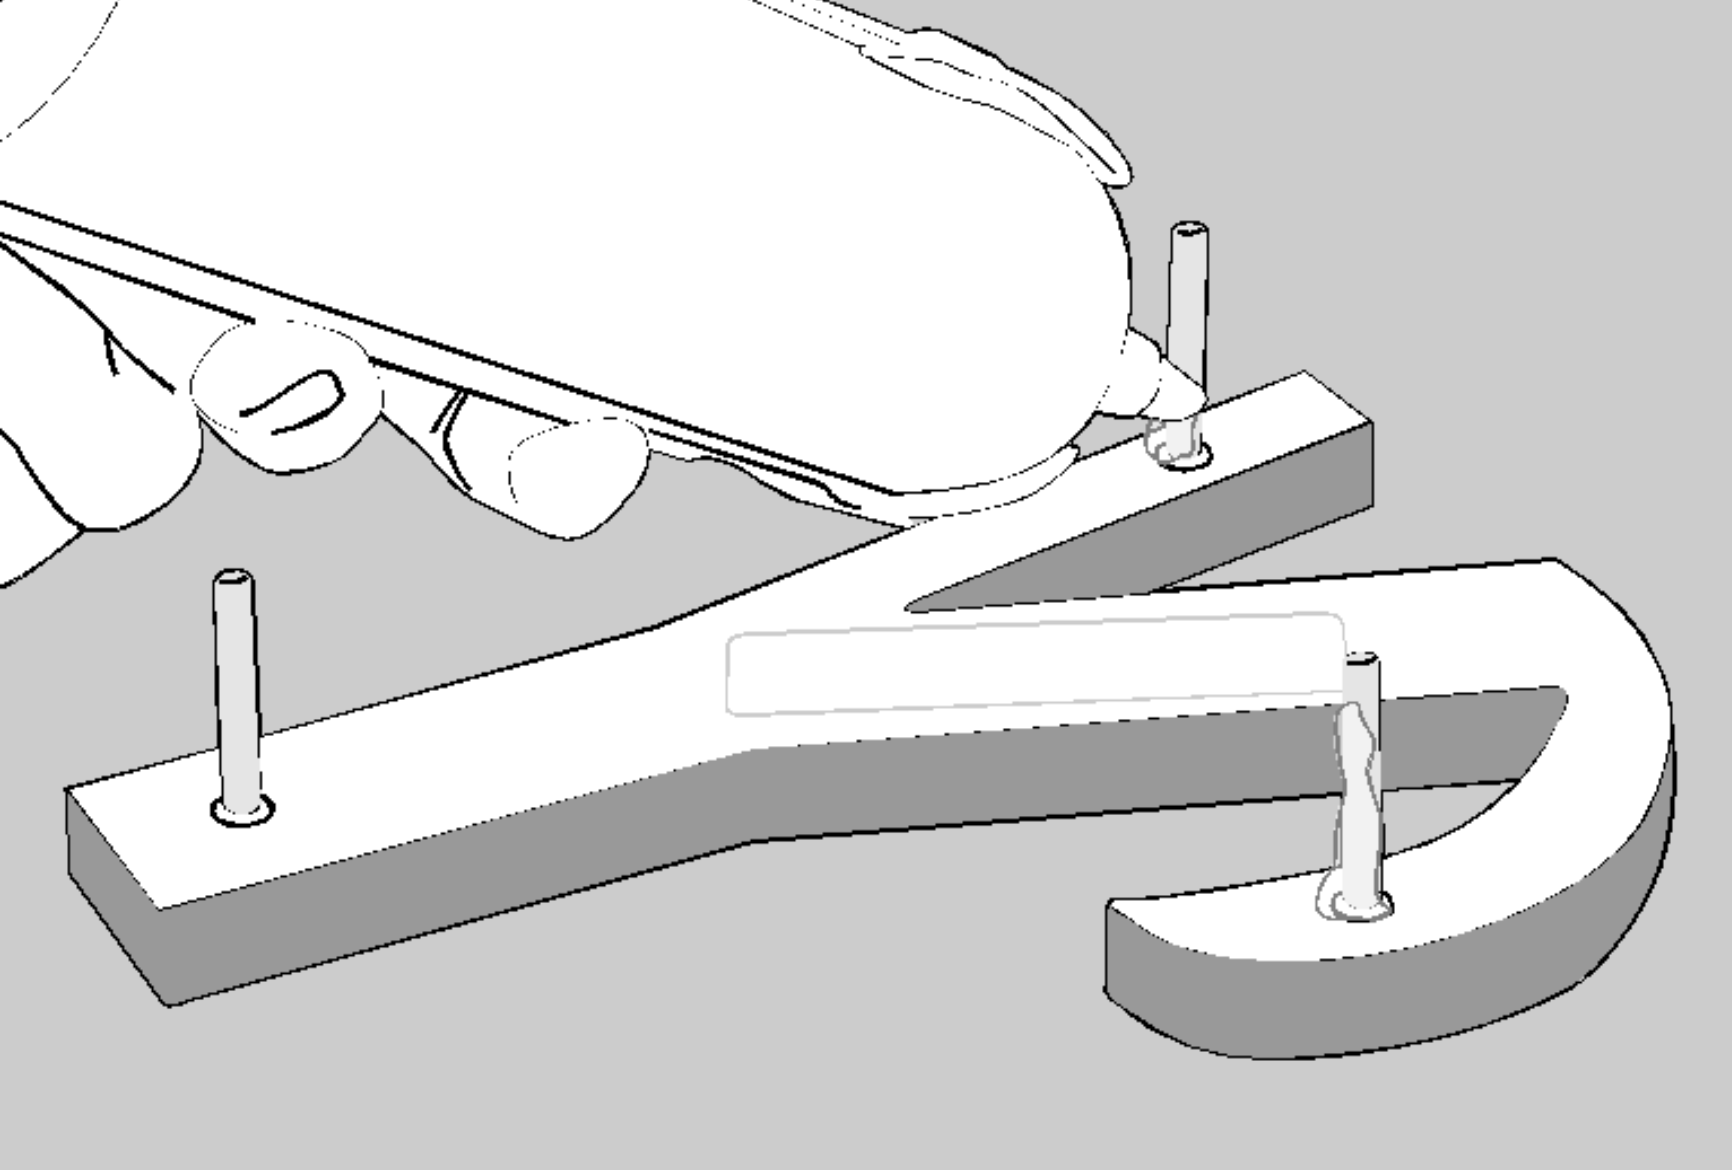
Step 4 Apply Silicone
Apply Silicone to the threaded studs on the back of the letter.
Step 5 Apply Letters
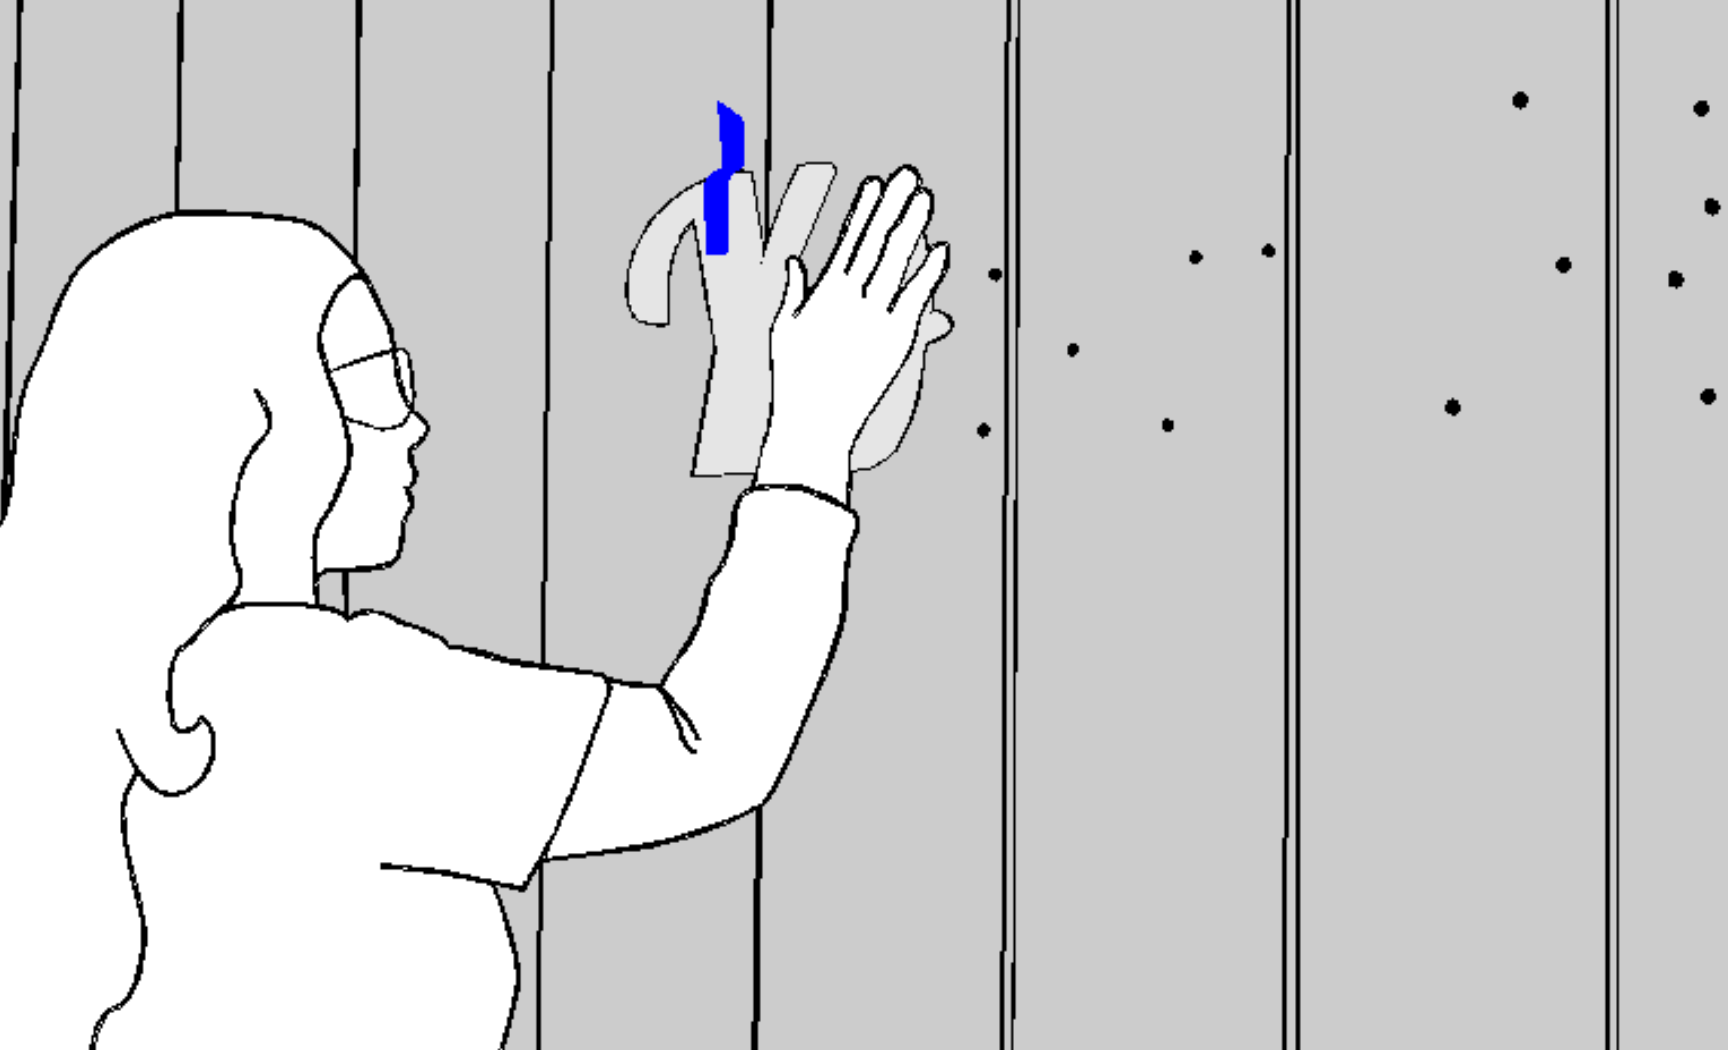
Attach the letters to the wall by insertng the threaded studs into the pre-drilled holes in the wall.
Tape any loose letters to the wall and allow 3-4 hours to set before removing tape.
 Wear Safety Glasses when drilling holes